***Come link up your crafts to this week's party!***
Showing posts with label paint. Show all posts

Wednesday, April 10, 2013

Guest Post: Ombre Lamp Tutorial

Happy Thursday All! Today we have a guest post from one of my sponsors this month - Ayla from Eyelah blog (and shop). Her blog is full of great inspiration, and her shop features tons of awesome clutches and pouches. Be sure to check her out!

Hi I’m Ayla over from Eyelah blog. Today I am going to share a tutorial on how to paint an ombre lamp! It’s surprising simple and you can get it done within an hour or so.
 

Supplies:

-Paint Brushes
-Lamp: I bought mine for 2 bucks at the goodwill. I also purchased a new lamp shade which was 10.00 from Ikea.
-Paint
-Painter’s Tape
 

You want to start off with taping the base and the light-bulb case portion. Try to make sure you get tape as even as possible to avoid any small amounts of paint getting through.


I started with a layer of white paint to cover the designs on the lamp.


I then started with the darkest color at the base of the lamp.

You can either buy the different shades you need or you can just create the shades by adding white
paint to the darker color. I like to create my own shades so I get it just right. It does take some playing
around with the paint.
 

After you get the shades you like you want to gradually add lighter colors as you paint up the lamp. It
may take a few coats depending on the color and how light or dark it is.


At the very top of the lamp right underneath the light bulb base I left as white.


After you finished painting the lamp you can add a clear gloss spray paint to have a nice shiny finish.


After your lamp dries, just add your shade and you are all done!! Enjoy the pretty lamp!

I love the way her lamp turned out - I may have to try this soon! Thanks so much for sharing Ayla! Be sure to visit Ayla's blog and shop, or say hi to her on Twitter or Facebook!

I hope you all have a great week!


Thursday, March 21, 2013

Stenciled Kitchen Wall

I've been reading all these posts lately about how Google Reader is going away and how that may affect GFC. So anyway, I added the option to follow through BlogLovin' and I migrated my Google Reader blogs over to BlogLovin'. Hopefully none of us will lose followers or our favorite blogs!

Today I wanted to share something Handy Andy and I worked on a while ago, but I just haven't gotten around to take pictures of it (story of my life...). Ever since I discovered Cutting Edge Stencils I have wanted to spice up my eat-in kitchen area a little with one. I finally took the plunge and painted it using the Zamira Allover Stencil and some paint I bought in the oops section of Menards for $1!

Here's what our little dining space looked like before:


We took the hutch out, Handy Andy created our new awesome table, and then added the stencil. Here's the after:


I will say, stenciling is not an easy job for a perfectionist. I got so frustrated while painting this that Handy Andy had to step in and finish it. The good news is that if you're off a little, it won't be noticeable when it's all up on the wall.


I love the way it turned out! Although, it's a little upsetting that we just did this (and a few other projects) and now...we're MOVING! We're in the process of buying a bigger house! We're super excited, but we will miss our first house/ongoing project.

Anyway, thanks for stopping by today!


Thursday, November 15, 2012

Barn Window Jewelry Holder

Happy One Week until Thanksgiving!! Are you getting excited? Planning your menus? Well I'm doing no planning, since we are going back to my parents' house for Thanksgiving this year, and my mom takes care of the food shopping and menu hoopla. We haven't been at my parents' house for Thanksgiving in several years, so I'm pretty excited.

Also, since I don't have any hostess planning going on right now, I've had some time to get some more homemade Christmas gifts made. This week I made jewelry holders for my mom and my sister. They both love jewelry, I am the odd one out there. They also both have a vintage-y, country-chic decorating style, so I decided to combine those two loves and create country-chic looking jewelry holders for each of them.

I started with two barn window frames that I got from my parents' stock of "treasures," as well as some chicken wire that Handy Andy had (obviously he has that lying around, don't you??).


I removed some old nails that were still sticking out of the window frames, and then sanded the frames down. Then, I spray painted them -- man, I love spray paint, so easy.


They were a little splotchy, but that's fine because, after they dried I sanded them again and brushed some dark wood stain over them. (No, I did not do them Christmas colors on purpose, thanks to Handy Andy for asking. Those are colors they each use to decorate with often).


Once the stain dried, I finished them with Minwax Finishing Paste (love that stuff). Rubbing that on them lightened up the stain a bit too, I really like how the colors turned out. After that dried, I added the chicken wire to the back with a staple gun -- I suggest wearing gloves, I didn't and my fingers were killing me when I was done.

To finish them off, I added some lace and burlap embellishments, and some scrabble tiles to my mom's and...


Done!

These were pretty simple to make, and I think they will really love them...AND they are useful - score! I also bought some little hooks to add for them to hang their necklaces on, but I haven't gotten around to putting them on yet.
 
Are you making progress on your family Christmas list this year?

Thanks for stopping by!


Thursday, July 26, 2012

Ikea Kid's Bed Makeover

Hello All! I hope you're having a great week! A few weeks ago we took a few days off work and stayed home with no plans - it was amazing! I got a few projects done that have been on my list for a while. The biggest one (besides cleaning my whole house) was this kid's bed makeover for one of my favorite little me, my nephew Dylan. I made him some name blocks a few months back to go with his room, and it's almost time for him to switch to a big boy bed, so I volunteered to paint this bed to match his football-themed room too!

Dylan's parents found this bed at Ikea for $19 in the as-is section - love that section!

Here's the before... (yes, I painted in my kitchen - it was too hot outside!)


And here's the after...


I used a light gray paint as the base, red for the lines and brown for the guard bar. I cut out Dylan's initials using my cricut and traced them on the headboard and then hand painted them with the light gray. I also glued a wooden football from Hobby Lobby with Gorilla Glue. I love the way it turned out - so cute!

Well, thanks for stopping by, have a happy Thursday!


Thursday, May 10, 2012

Night Table Makeover

Happy Thursday! This project was one that I did for a guest post over at Bella Nest a few weeks ago for her Drab2Fab series.

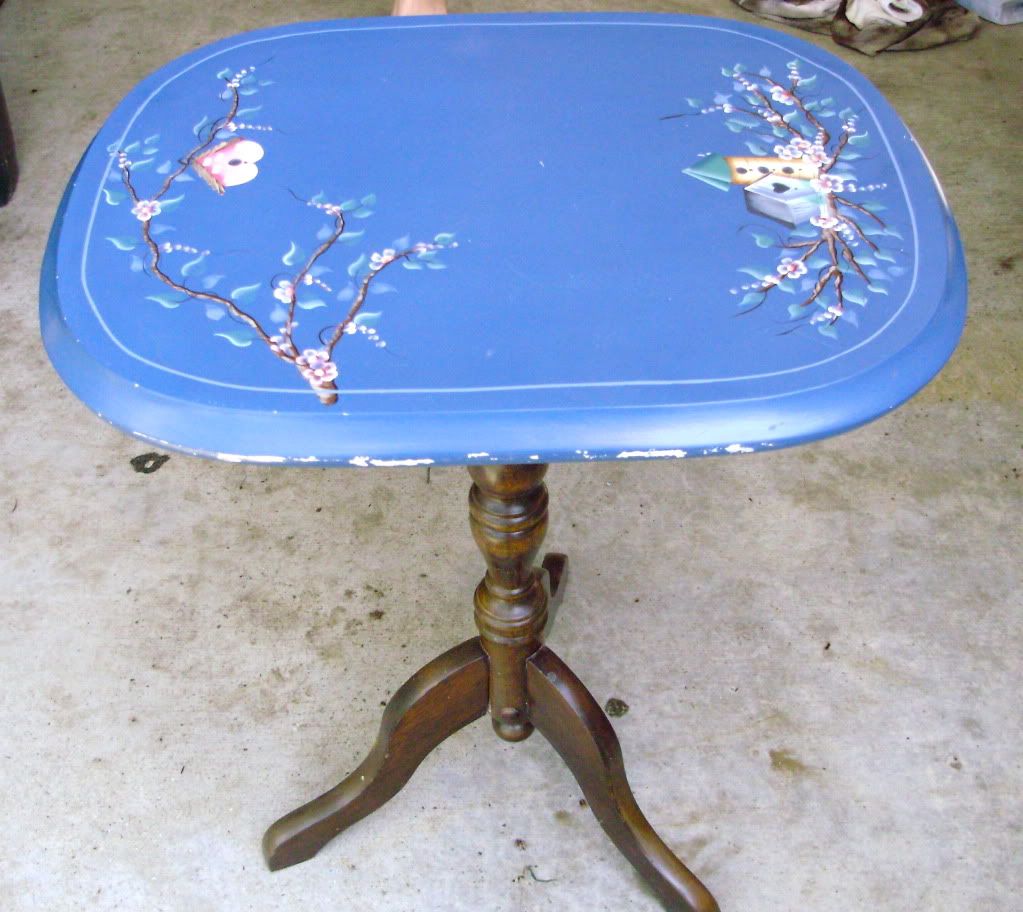
For my Drab2Fab project, I took a little piece of furniture that I already had that was well in need of a makeover. There are several things about this project that are awesome, first one being that this table was FREE. Several months ago my mom gave me this little night stand.

Photobucket


Cute, but clearly in need of an update. Now, this little table has been sitting in the guest room since I brought it home, and since we're changing our guest room to into a kid's room (see more on that here), now is the perfect time to makeover this little piece to match the new room theme.

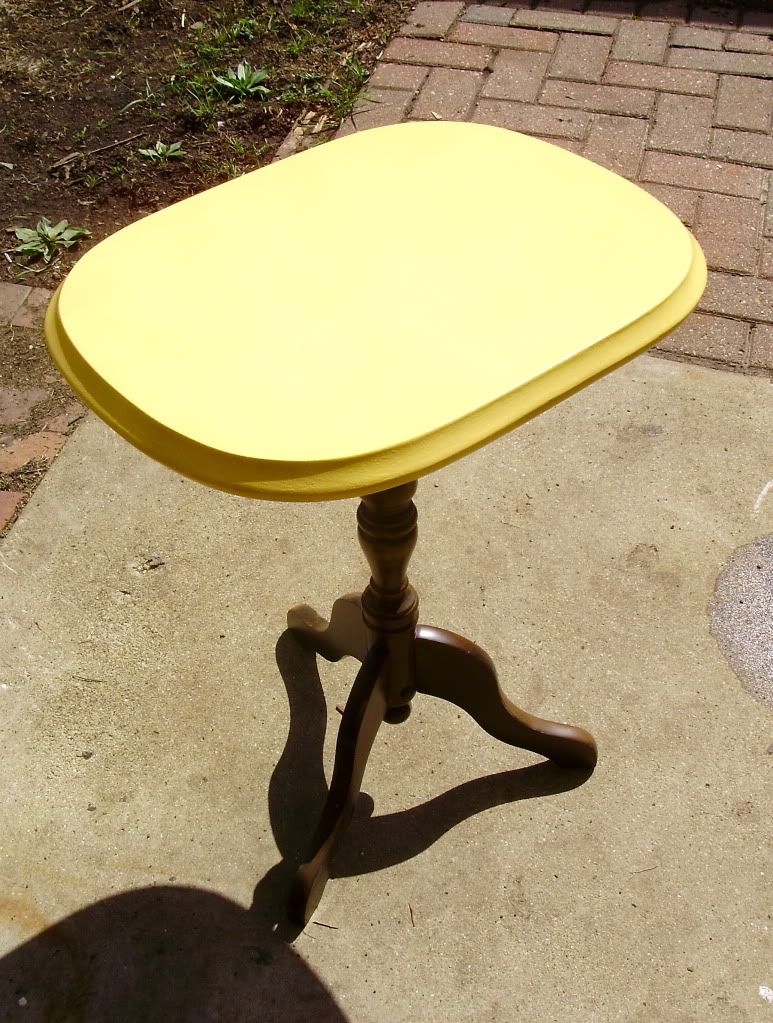
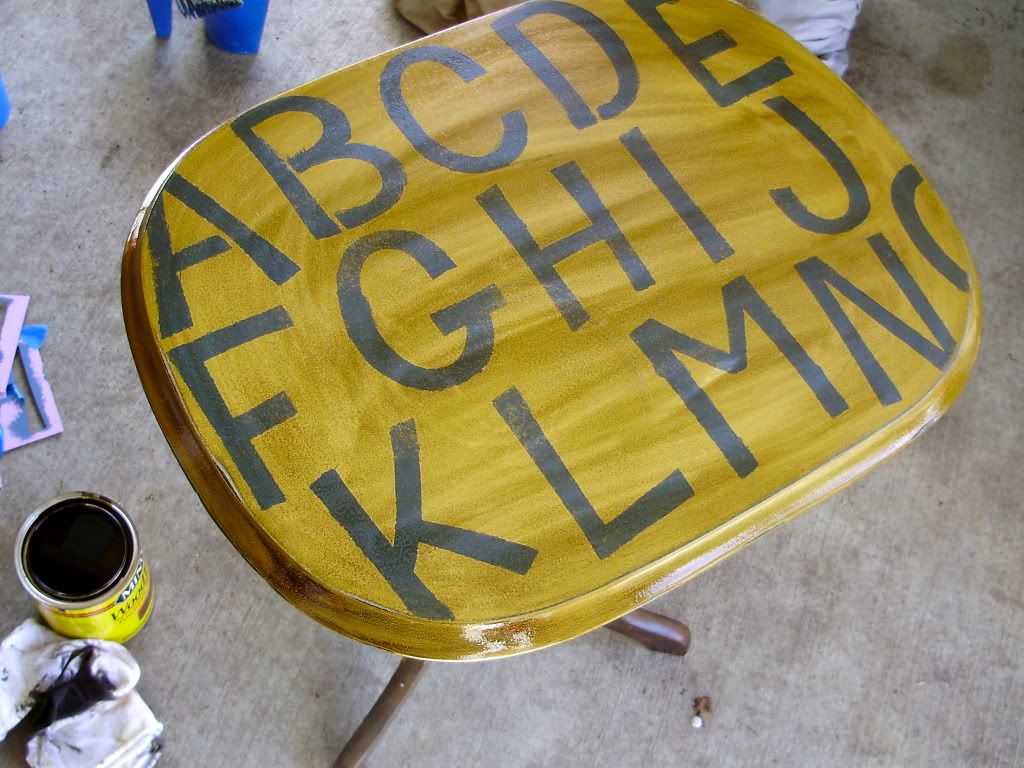
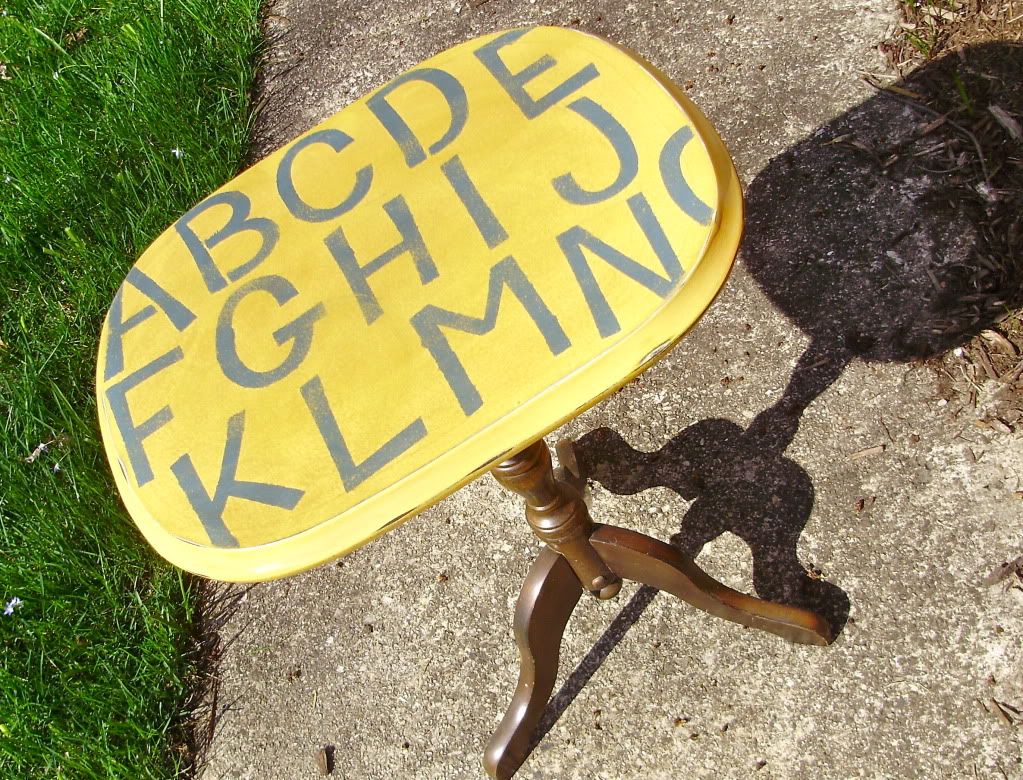
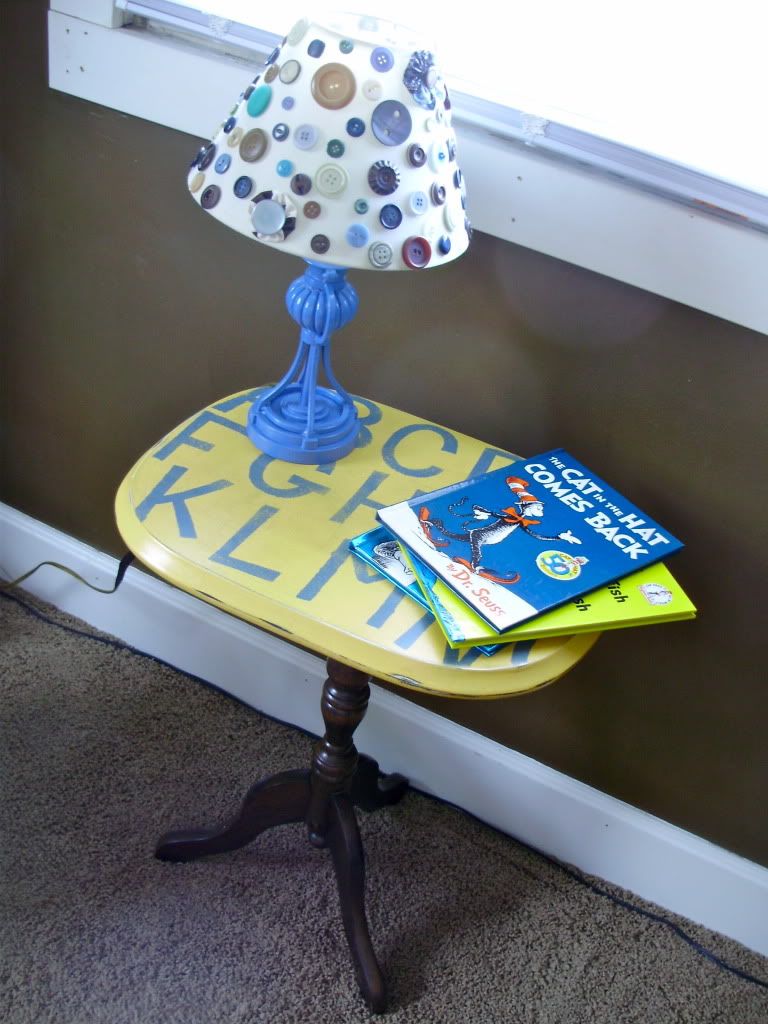
Since the new color scheme of the room is going to be blue, green and yellow, I decided to paint the table top yellow and leave the bottom natural. Awesome thing number two is that the gallon of yellow paint I used was only $5.00 in the oops section in Menards - bonus! First, I sanded the table top with an electric sander and then I painted several coats of the yellow on the table top.


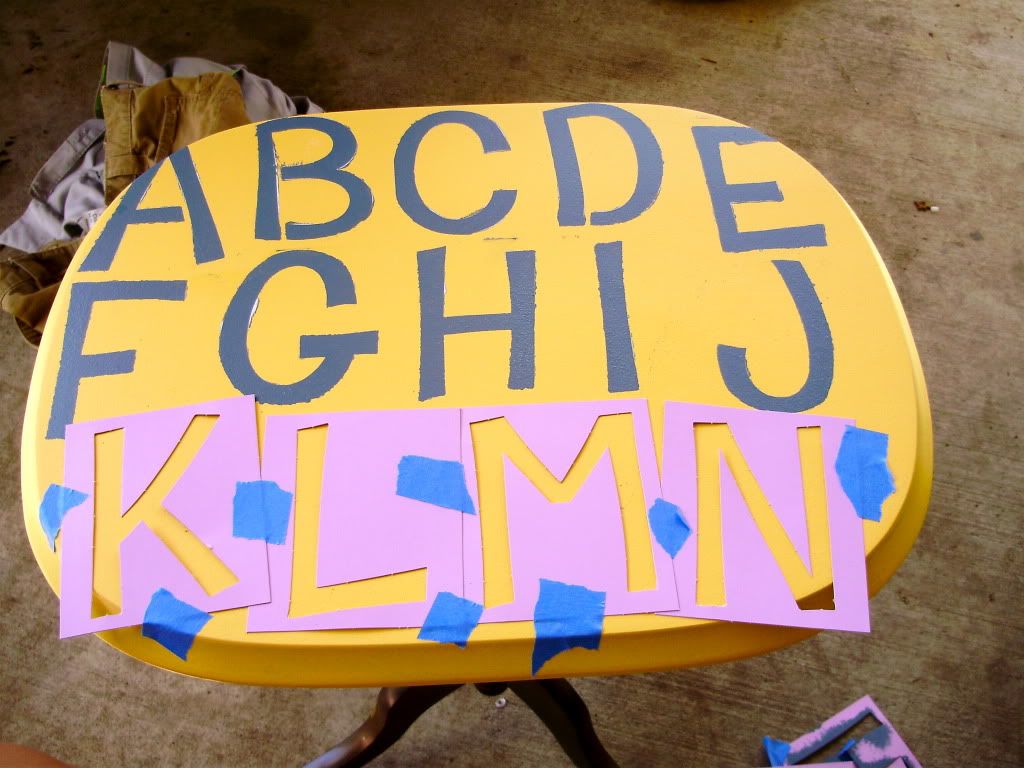
Now to add a decorative touch to the table. Since I've decided to go with an alphabet/word theme for the room, I used some alphabet stencils from Hobby Lobby that I got for $2.99 and some more paint that I got from the oops section for only $1.00 (yup, awesome x3).

Photobucket


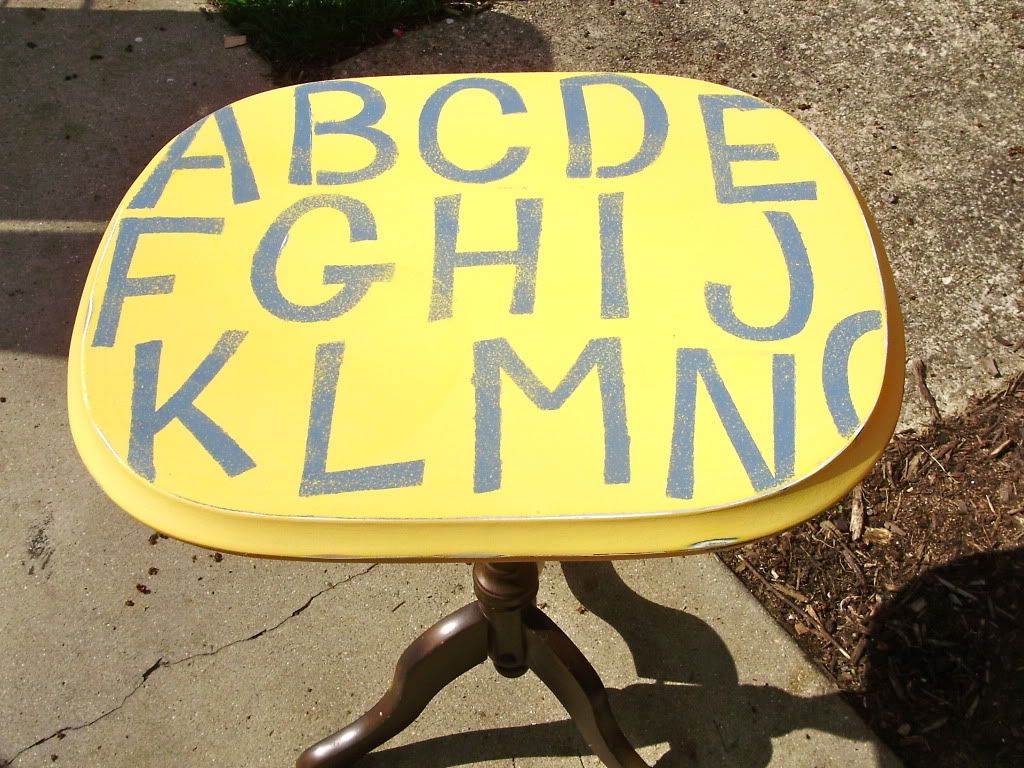
I actually ended up using a much smaller brush than pictured to paint the stencils. After the letters dried I took the sander again and went over the whole table top to give it a nice distressed look, especially around the edges. 


Add some Minwax stain, wait 5 minutes, wipe off.


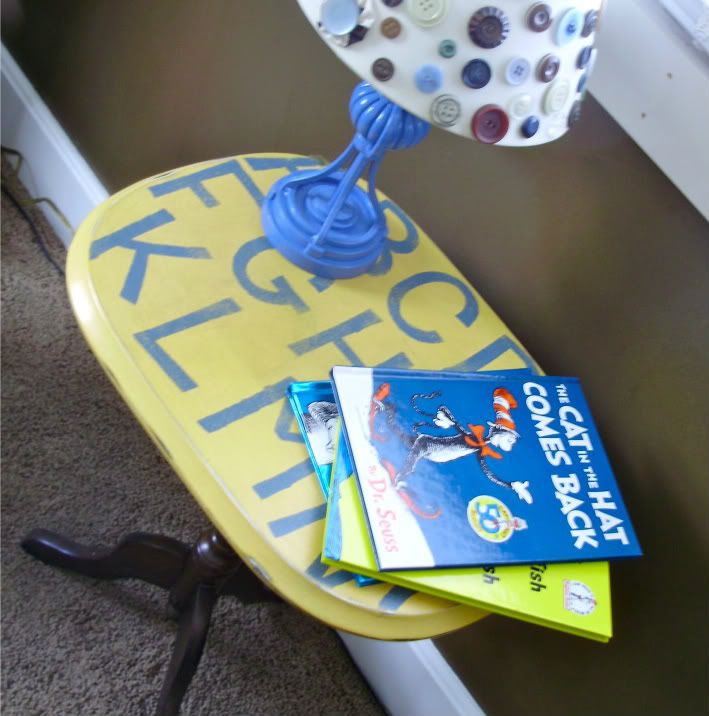
After the stain dried, I rubbed on some Minwax paste wax finish. I've never used this product before, and I'm not really sure I used it right, but I like the end result! After the wax dried, I polished the table with a clean, dry rag. It gave the table a smooth, slightly shiny finish.

Photobucket


Wahhh La! There it is. It turned out way better than I expected - I really like it! This is definitely the brightest color I've painted a piece of furniture, and I'm really glad I took the risk.

What do you think??

Wednesday, March 21, 2012

Painted Paper Lanterns

Hello All! I hope you're having a good week! Today I'm sharing a bit of personal news because it informs my project today and the projects that will inevitably follow. First off -- no, I'm not pregnant. However, Handy Andy and I are going through training to become a host home for Safe Families for Children, and will also be getting our foster care license this year most likely. Instead of explaining to you what Safe Families is, I'll just make you go to the site to read up on it! :)

In short, Handy Andy and I are both passionate about providing a safe, loving environment to children in crisis situations, and this is the direction we are heading with the goal of hosting children beginning later this year/early 2013.

In addition to training, we are getting our house ready by transforming our guest room into a gender-neutral, age-neutral kids room [why yes, that is challenging -- any suggestions??]. At this point I've picked a green, blue and yellow color scheme. I'm also thinking about an alphabet/words theme, but I'm still pondering that one.

Anyway, for the first little decor project, I decided to use something I already had...


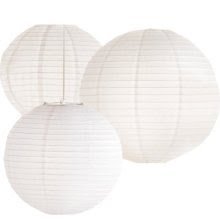
White paper lanterns! [sorry, I didn't take a before picture, so this is off the internet]

I got these probably over a year ago on clearance at Hobby Lobby, and I think my mom bought them for me...so they were actually free! I love the look of these paper lanterns, but I couldn't find a spot for these in our house before now.

Once I decided on the color theme for the room, I got inspired to give these lanterns a makeover and [eventually] hang them in the kids room. I took some tempera paint I had, brushes, and a few jar lids to trace, and here's what I ended up with:


There was no special trick to this, but I did have to watch how much paint I brushed on at one time because the paper is really thin and was pretty fragile when it got wet. The circles were kind of annoying to trace and paint, so I only did the big one with circles. They turned out so cute! And this little project was FREE! I can't wait to hang them up!

Also, I recently purchased some clearance fabric to make some curtains out of...which should definitely be an adventure. Stay tuned!

Have a good one!


P.S. Linking up here!