***Come link up your crafts to this week's party!***
Showing posts with label home. Show all posts

Thursday, March 21, 2013

Stenciled Kitchen Wall

I've been reading all these posts lately about how Google Reader is going away and how that may affect GFC. So anyway, I added the option to follow through BlogLovin' and I migrated my Google Reader blogs over to BlogLovin'. Hopefully none of us will lose followers or our favorite blogs!

Today I wanted to share something Handy Andy and I worked on a while ago, but I just haven't gotten around to take pictures of it (story of my life...). Ever since I discovered Cutting Edge Stencils I have wanted to spice up my eat-in kitchen area a little with one. I finally took the plunge and painted it using the Zamira Allover Stencil and some paint I bought in the oops section of Menards for $1!

Here's what our little dining space looked like before:


We took the hutch out, Handy Andy created our new awesome table, and then added the stencil. Here's the after:


I will say, stenciling is not an easy job for a perfectionist. I got so frustrated while painting this that Handy Andy had to step in and finish it. The good news is that if you're off a little, it won't be noticeable when it's all up on the wall.


I love the way it turned out! Although, it's a little upsetting that we just did this (and a few other projects) and now...we're MOVING! We're in the process of buying a bigger house! We're super excited, but we will miss our first house/ongoing project.

Anyway, thanks for stopping by today!


Wednesday, December 26, 2012

Home State Wall Art

Hello All! Happy day after Christmas! I hope you all had a wonderful holiday! I was pretty productive the week before Christmas so I could do nothing this week. During my productive spurt, I put Christmas projects aside for a little bit and worked on a project that has been on my list for a while.

During the summer I ordered a map of the states both Handy Andy and I were born in, from the years we were born. I intended on framing each of the maps and hanging them in our living room. Unfortunately, my map never made it here, thank you USPS.

I still wanted to do something with Andy's map, so instead of framing it, I decided to make a faux wrap around canvas art piece. Here's what I gathered:


20 x 20 Canvas ($13 at Hobby Lobby)
Map
Mod Podge & Brush

I used an utility knife to cut the map slightly larger than the surface of the canvas. Then I brushed Mod Podge all over the canvas, laid the map on it, and smoothed it out. Before brushing more Mod Podge over the top, I took a staple gun and folded the map around the edges of the canvas and stapled the edges. The I brushed Mod Podge over the map. It bubbled at first, but after it dried everything flatted out. Then I used some black ink and a sponge to ink the edges of the canvas and add a weathered look to the rest of the map.


I used by Cricut to cut out the word HOME with red vinyl. I positioned the letters so that Andy's hometown was in the middle of the O. Then I brushed more Mod Podge over the letters so they would stay.


I love the way it turned out and so does Handy Andy! Plus, we just rearranged our living room and it looks GREAT hung up on the wall. Too bad we don't have a Michigan one for me...

Thanks for stopping by!


Thursday, December 13, 2012

Snowman Wreath

Hello All! Can you believe is only 12 days away?! Crazy! Well, I'm still trying to get some handmade Christmas gifts finished before we see our family next weekend. A friend of mine came over last week to have a little crafting night and get some gifts done. Before I started I decided to make a little Christmas decor for myself, since I've been working on so many gifts lately.


 Last year after Christmas I got these three mini wreaths from Hobby Lobby for like $0.50 a piece. I wanted to make something to replace my fall wreath, so I decided to make a snowman out of the wreaths.


I started by connecting all the wreaths with white ribbon, by looping it around both and hot gluing the over lapping ends together. One of the mini wreaths is a little bigger than the other two so I used that as the bottom "snow ball." I had some Christmasy fabric left over from last year (old placemats), so I cut a strip of it off the long side and glued it around the "neck" of the snowman for a scarf.


Then I cut a rectangle of fabric and sewed the edges together, then gathered the top and tied it to make the hat. I made a pom out of yarn and hot glued it on top.


I kind of love my little snowman - he's cute and looks cozy in his hat and scarf! Plus he was simple to make - you know I love that kind of project!

Thanks for stopping by! Have a good week!


Wednesday, October 17, 2012

October Overhaul - Craft Room Clean Up

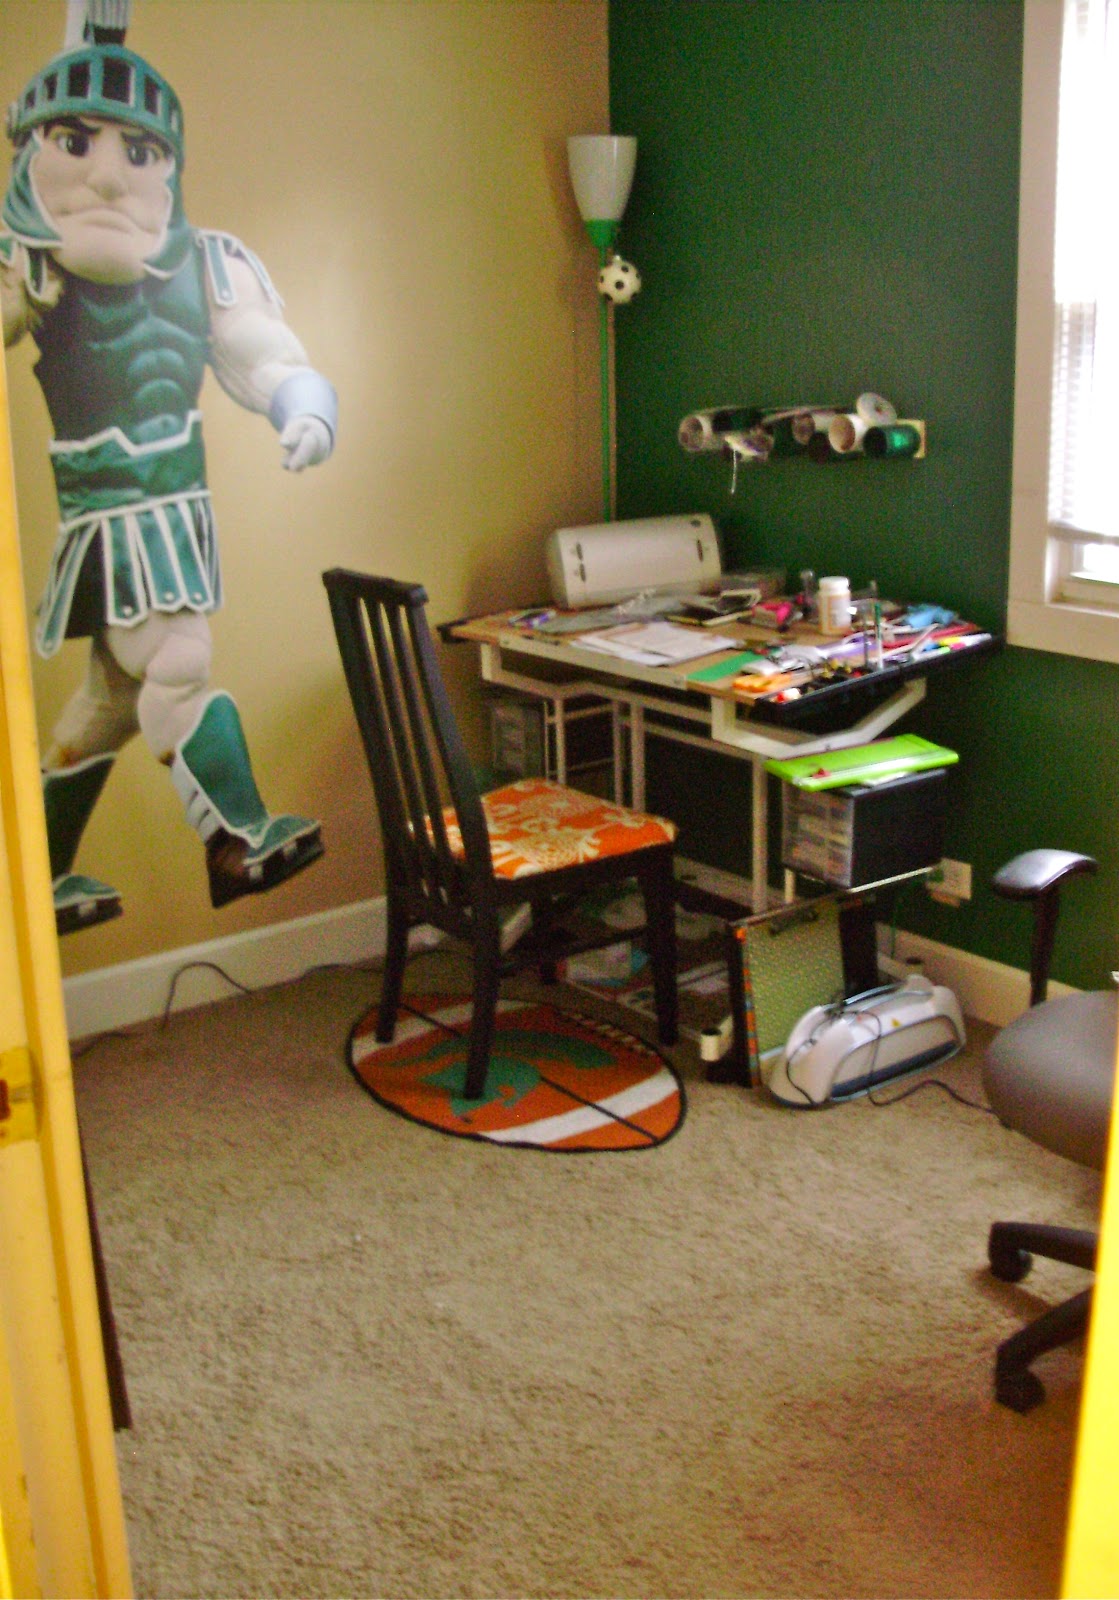
Amie from Pinkapotamus and Amy at Whole Wearing Heels are hosting an October Overhauling party to get their crafts rooms organized and start getting projects made. I decided to participate because my craft room (better known as Sparty's Room) is in a constant cycle of semi-clean to messy. 
October Overhauling

Here's the deal:

Week 1:   Share your messy craft area!

Week 2:  Clean out your craft area so that it is organized and neat and share your progress!
Week 3:  Make 1 project from your existing craft stash!
Week 4:  Share your experience, what you created and how happy you are NOT be embarrassed by your craft hoarding anymore!


I have been pretty busy lately, so I'm a week behind. But, I did get to cleaning up the mess that was Sparty's Room. So, here are the before and after pictures.


Super embarrassing...


So much better!


 And here's another look at the shelf Handy Andy built me, getting even more use than before.

Now I just have to try to keep it this way. How do people keep their craft areas clean when they are working on projects anyway??

Thanks for stopping by!


Thursday, August 30, 2012

Closet Expansion

Hey All! Hope you're having a lovely week. I think it's about time to share another project straight from Handy Andy himself.

I know I've briefly mentioned how our house is a continuous project (see a snapshot of before and after here). Well, for some reason beyond comprehension, our closet had a single door opening, but the space went farther than one door over in the wall. This was super annoying because half of our stuff (ok, maybe it was mostly Handy Andy's stuff) was behind the wall and not easy to get to.

Enter: Handy Andy.


We've been talking about opening up the wall for a while, so one free afternoon, he just went for it. He cut out the drywall, stud, and that white thing above the existing opening.


Then he patched up the side and top with drywall. He also tore out the carpet that was there and replaced it with some hardwood we had left over from the living room.


This freed up so much more usable space in our closet! Now we can even put our shoes in our own closet instead of the office closet! We still have to get some paint to finish the job, but I'm am so happy this is finally done, and it only took him a few hours to get everything done and back into place, base trim and all! Have I mentioned he's super handy? Oh, good.

Have a good one!


Sunday, October 9, 2011

Extreme Home Makeover - Handy Andy Edition

Handy Andy and I bought a house about a year and a half ago. I knew Handy Andy was handy before this, but it was after we bought our house that I really saw the full extent of his handiness.

Our house was a hole when we bought it. A hole. After we closed on the house, we spent two weeks cleaning, painting, reflooring, cleaning, replacing the furnace (it went out 2 days after we closed, that was fun - in February), and more cleaning. I'll share more pictures of it later, especially since Handy Andy is in the middle of residing it right now. But, I wanted to share a snapshot before-and-after of one angle of the living room for you. Just in case you are in need of some inspiration.


Yes, I promise you, that is the exact same room. Can't you tell by the grimy door that still needs to be painted?

Anyway, we've (mostly Handy Andy) done a lot to the house to make it this beautiful. The short list includes paint, new floors (hardwood, carpet and tile), custom base and window trim, re-insulated attic, new tile counter top (and back splash - in progress), counter top extension (the washer and dryer used to be in the kitchen), new appliances,  and a double-wide opening cut in the wall between the kitchen and living room. Again, this is the short list. I'll keep sharing bits and pieces of our hole-turned-home as I go, just to keep reminding you of how truly handy my Handy Andy is.

Thanks for reading. I hope you are inspired to make something beautiful! :)