***Come link up your crafts to this week's party!***
Showing posts with label paper. Show all posts

Friday, March 29, 2013

Family Tree Poster - with Hands!

Hey All! Happy Friday! We've had a busy week here, getting used to being parents to our two crazy little boys. If you want to read some more about our foster care journey, you can check out our other blog, let's [foster] love.

Anyway, I wanted to make something visual to help the boys learn about their family (most of whom live in another state). So, we made a family tree with our hand prints!


For this project we used:
Poster Board
Colored Copy Paper (or construction paper)
Scissors
Markers and Crayons

I traced all of our hand prints (even a few of Handy Andy's Dad's), cut them out, and wrote all of our family's names on them. Then I drew two trees, so the boys could learn both of our families. The trees come together where Handy Andy and I are (I'm also adding hands for the boys, but I can't share their names on here, so I left them off for the picture). Over the weekend we will start to add pictures of everyone so they can learn their names and faces.

Hopefully, this will help the boys get to know our families, even if they can't meet them all right away! They are really excited about all their cousins. :)

Thanks for stopping by! 
Come back tomorrow for the Pinteresting Link Party!


Thursday, January 31, 2013

Project Throwback - Handmade Envelope Care Package

Confession: I have several projects to show you, but I apparently forgot how to schedule taking photos in the winter time to catch the good light so I don't have any photos of them yet. I hate that it's dark when I get home from work.

Anyway, I was thinking of some Valentine's crafts and I remembered a craft I did really early on in my blogging that I think would be so perfect for your Valentine's Sweetheart!

Handmade Envelope Care Package


 Step 1: Gather patterned paper, pencil, deconstructed envelope, tacky glue.


Step 2: Trace and cut envelopes, fold envelope flaps using a straight edge.


Step 3: Glue the side and bottom flaps together.
Step 4: Glue the top flap to the back of one envelop, stack all this way.


 Step 5: Finish it off with cute notes and candy!


There you have it: a perfect, thoughtful gift for your Sweetie! If you want to check out the original post, you can see it here.

Thanks for stopping by!
Have a great Friday and don't forget to stop back to party on Saturday!


Thursday, November 8, 2012

Personalized Notebooks

Hello All! Not sure if you saw my post last week, but I mentioned that I'm going to be trying my hand at homemade Christmas gifts for several of my loved ones this year. I continued crafting for my nieces this week and made them personalized notebooks. These are super simple, but are really cute.

I started with these composition notebooks you can get anywhere, I got them at the dollar store.


I also gathered some scrapbook paper, Mod Podge, and some other embellishments. I used a paper cutter and a knife to cut out the paper for the covers.


I brushed a thin layer of Mod Podge on the notebook before laying the paper down, and then another layer on top of the paper. After that dried I hot glued some matching ribbon to edge of the paper on the binding. Then I used some embellishments to decorate the notebooks for the girls.


Here's how they turned out - I hope the girls like them! I definitely like how simple and cute they are.

Thanks for stopping by!


Wednesday, October 17, 2012

October Overhaul - Craft Room Clean Up

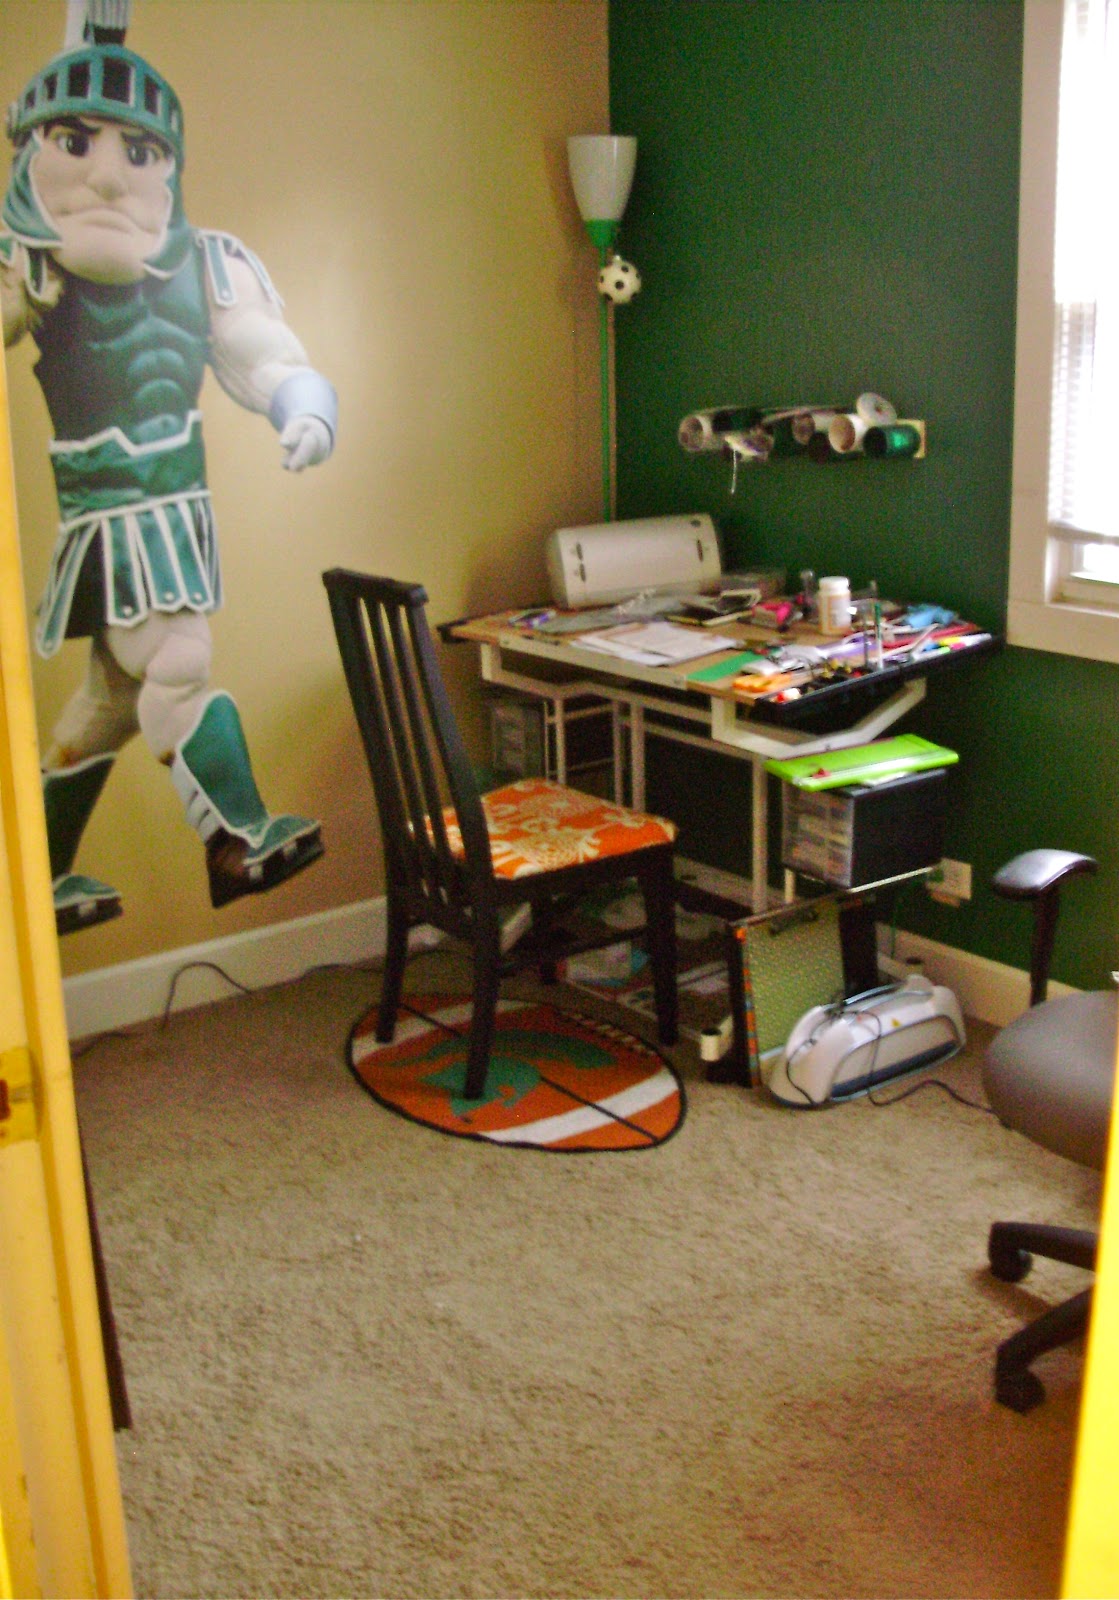
Amie from Pinkapotamus and Amy at Whole Wearing Heels are hosting an October Overhauling party to get their crafts rooms organized and start getting projects made. I decided to participate because my craft room (better known as Sparty's Room) is in a constant cycle of semi-clean to messy. 
October Overhauling

Here's the deal:

Week 1:   Share your messy craft area!

Week 2:  Clean out your craft area so that it is organized and neat and share your progress!
Week 3:  Make 1 project from your existing craft stash!
Week 4:  Share your experience, what you created and how happy you are NOT be embarrassed by your craft hoarding anymore!


I have been pretty busy lately, so I'm a week behind. But, I did get to cleaning up the mess that was Sparty's Room. So, here are the before and after pictures.


Super embarrassing...


So much better!


 And here's another look at the shelf Handy Andy built me, getting even more use than before.

Now I just have to try to keep it this way. How do people keep their craft areas clean when they are working on projects anyway??

Thanks for stopping by!


Tuesday, September 25, 2012

Giveaway from 2BeePress

Welcome to day three of my blog's birthday celebration! I hope you've entered the PoppyDreamz giveaway, and I know you loved yesterday's guest post from Emily at 52 Mantels. Well the goodies aren't done -- today we have a giveaway from...


Sarah...Tell us a little bit about yourself.
I am a native Oregonian and currently living in Eugene, Oregon but I have lived in Japan and Brooklyn NY- both places full of design and creativity. While in Japan I fell in love with decorative paper and started collecting rolled sheets of paper and sending them home until my parents said, "Enough!" While in NY I studied bookbinding and love pocket journals. 


 When did you start making paper goods?
I have been collecting and creating with paper since I got my first pair of scissors and glue in Kindergarten.


What is your favorite thing in your shop?
I like everything I create and place in my shop, if it isn't a favorite of mine I won't sell it.


What is your favorite way to spend a weekend?
I love spending the weekend carving different stamps and printing on different colors and textures of paper. I also like to go hiking with my husband in the forests and along the beach exploring all the colors and textures in nature.


What is your favorite thing about birthdays?
Another favorite thing of mine is any celebration, be it birthday, anniversary or just because. I love being with friends and family and eating good food -and of course eating the cake that no celebration would be without!

Thanks Sarah! I love all the journals and tags in her shop, and YOU could be the lucky winner of the following items from 2BeePress:


A Deer with Antlers Moleskine journal and four of each of the following gift tags (for a total of 12): 4 Santa Hat, 4 Pine Tree and 4 Santa's Reindeer.

I know you want to win -- now use the Rafflecopter form below to enter! Good luck!

a Rafflecopter giveaway

Thursday, September 13, 2012

Pom Cake Toppers

Happy Thursday Everyone! Today I am sharing with you the long-promised pom cake toppers. I made big poms for my friend's wedding, and she also wanted mini ones to put on her cakes. Thanks to my 9th grade Spanish class where I learned how to make piƱata, I figured out how to make the perfect mini poms for her cakes! This is my last wedding project to share...for now.

Here's what you'll need:


1. Tissue Paper
2. Scalloped Circle Punch (I used a 1-1/2 inch)
3. Scissors
4. Wooden Kabob Sticks
5. Hot Glue Gun & Glue
6. Pencil


First punch out a bunch of circles (you can also cut out 1x1 inch square and use those if you don't have a circle punch).


Then cut out about a one inch strip of tissue paper and ball it up. Glue the ball together and then glue it on the top of the wooden stick.


Next comes the fun part. Take the scalloped circles one by one, place the eraser end in the middle of the circle, fold the edges up around the pencil and then twist the edges around so they wrap around the pencil. Put glue on eraser end of the tissue paper and glue it to the tissue paper ball. Keep doing this and glue the circles close together starting near the stick.


I'm not going to lie, this takes quite a while (especially when you make 33 of them), but they look so cute when they are done!


See?!


And here we are together at the wedding - my little pom friends and me. My friend had cakes at each table for the centerpiece and the pom toppers were on half of the cakes. Very cute!

Thanks for stopping by! Have a great week!


Wednesday, September 5, 2012

Wedding Gift Packaging

As you may have gathered from my post last week, one of my close friends got married over the weekend. Both Handy Andy and I were in the wedding. In addition to the tissue paper poms I made for the aisle decorations, I also make cake toppers for her cake centerpieces (tutorial coming next week, I promise). Since I was in a crafty mood, I decided to make a special bag for my friend's bachelorette party gift.

Her wedding colors were coral and gray, and I randomly had a plain coral gift bag in my collection of packing materials...perfect!


Here's what else I got:
4.5" x 6.5" decorative paper
White cardstock
White tissue paper
Silver ribbon

First I cut out the top form of the dress and glued it on the decorative paper.


I cut out about 1x1 inch square pieces of tissue paper, crinkled them, folded them almost in half, and then created another fold in the middle.


Then I started gluing the pieces in lines and then layering the lines of tissue paper to make the skirt of the dress.


Once I got the skirt how I wanted it, I glued some silver ribbon to create a belt. 


Then I glued the background paper to the bag, and...


I have a nice gift bag with a wedding dress embellishment on it! This embellishment would also be great for a wedding scrapbook, since that's probably not going to end up in the trash like this bag probably will...it was fun to make anyway!

Have a good one!


Thursday, August 23, 2012

Tissue Paper Poms

Here's the guest post I did over at Two Yellow Birds Decor a few weeks ago for Jill's Blog Birthday Bash. These are simple and adorable decorations that are perfect for a birthday party, baby shower, or wedding. I've been making tons of these, and tons of mini poms for cake toppers (tutorial to come) for my friends wedding coming up in a week and a half!

Tissue Paper Poms

Photobucket

The best part about these is that you probably already have everything you need to make them!

Photobucket

Here's what you need:
Tissue paper
Vinyl coated wire or twisty ties
Scissors

Photobucket

Layer 8-12 sheets of tissue paper and begin folding it like a fan.

Photobucket

Then fold the tissue paper in half and tie the wire around it.

Photobucket

Make one cut at the middle fold of each section, to cut the sections in half.

Photobucket

You'll end up with four sections of fold. At this point take each section and start separating the layers.

Photobucket


After they are all separated, gently pull the layers in different directions and fluff them. You can fluff them all around so you end up with a round pom, or leave a flat side to hang on a chair or use as a table centerpiece. I left mine flat on one side.

Photobucket


Photobucket

Sorry the pictures aren't great, but I hope you get the idea.

Hopefully I'll have a few more pictures to show them in use after the wedding!

Happy Thursday!


Thursday, July 5, 2012

Bloggy Olympics Link Party

Did you see the tutorials posted for Event #4? 
Of course you did.
But, just in case, here is a rundown of the crafts that were done by Team Craft of the Bloggy Olympics.


Well, I hope you decided to participate in this event and got your craft on this week. We all worked hard, and now, it's time to party! Link up your craft here, whether you followed one of the tutorials, or did your own thing!

Also, don't forget to enter the GIVEAWAY


Head over there to enter if you haven't yet!

Now link up!